How To Make Fairy Light Lamps
Creating your own fairy light lamp is easier than you might think. With just a few simple steps, you can turn ordinary materials into a stunning piece of décor that instantly adds warmth and charm to any space.
First, start by choosing your base. A clear glass jar, bottle, or vase works best because it allows the lights to shine beautifully. Make sure it’s clean and completely dry before you begin.
Next, insert your LED fairy lights into the container. Carefully arrange the wire inside so the lights spread evenly. This step makes a big difference, as well-placed lights create a soft and magical glow rather than a cluttered look.
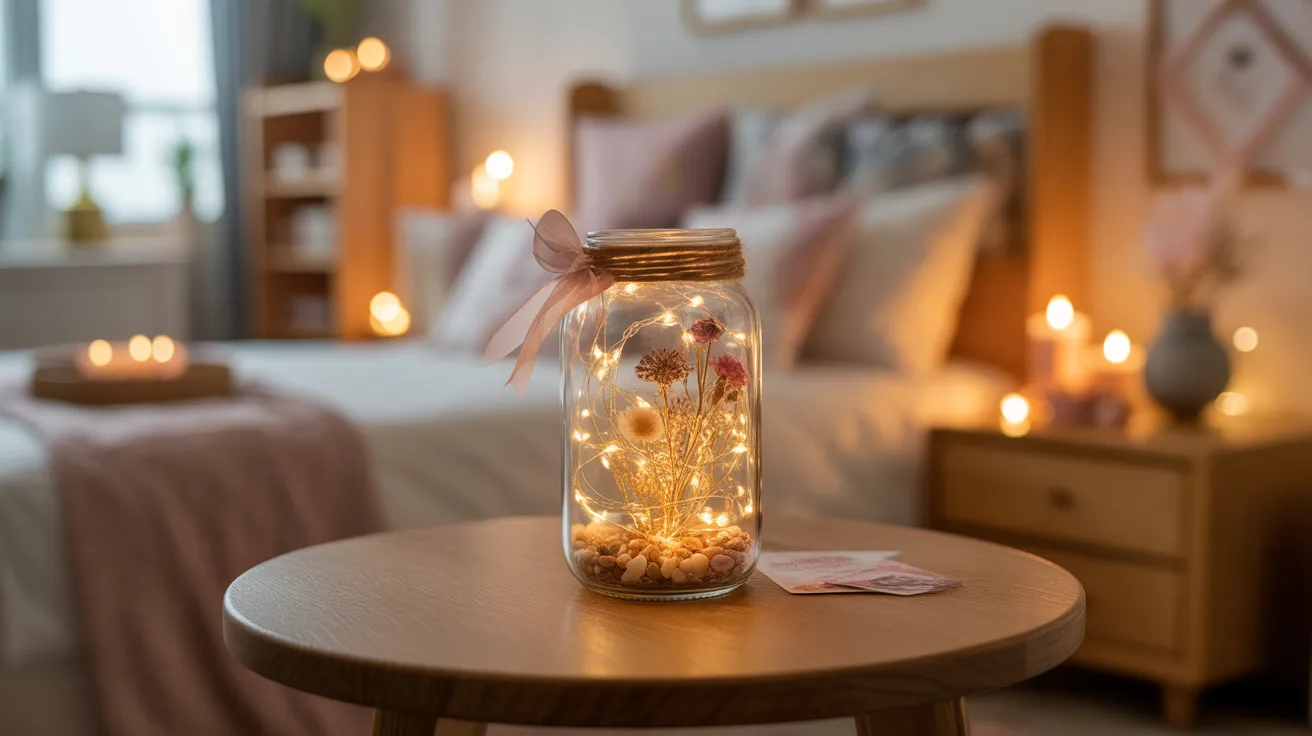
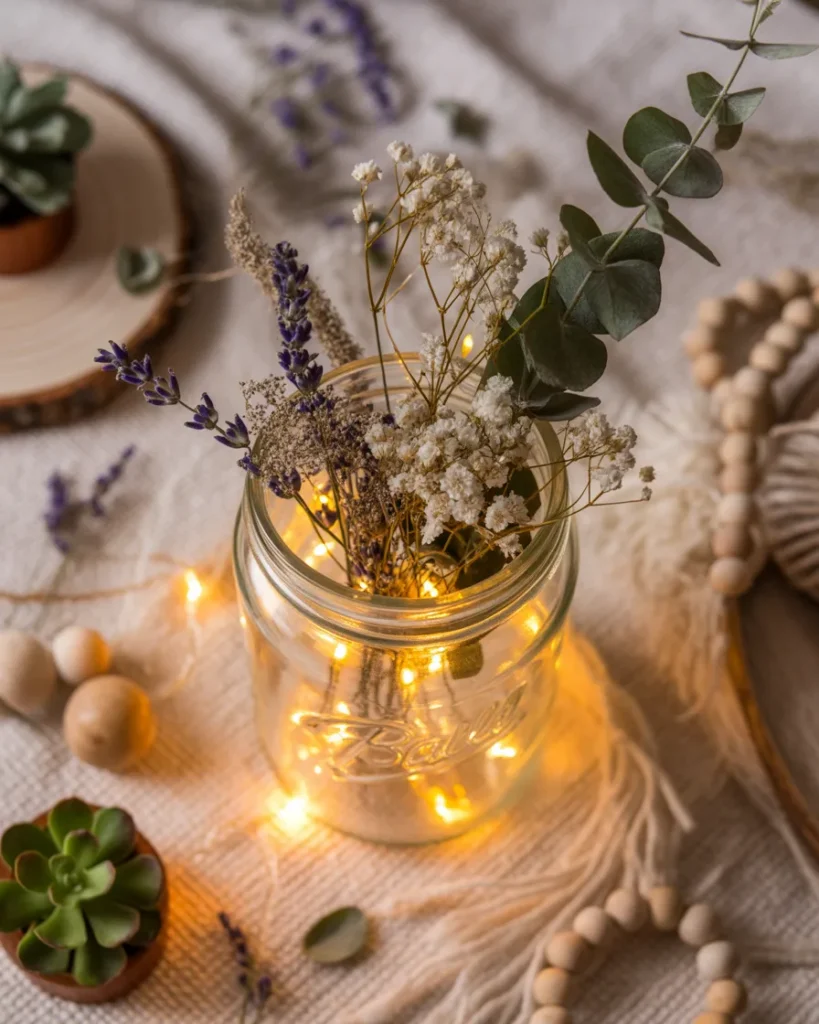
After that, it’s time to add your decorative elements. You can layer pebbles or sand at the bottom for texture, then place dried flowers or small photos inside for a personalized touch. If you want a dreamy winter vibe, sprinkle in some glitter or faux snow.
Once everything is in place, gently adjust the lights again so they sit nicely around the decorations. Then, secure the battery pack. You can hide it inside the jar if there’s space, or attach it neatly to the back using tape or ribbon.
Finally, switch on the lights and enjoy the transformation. Instantly, your simple jar turns into a glowing, cozy lamp that looks stylish and professionally made.
To elevate the look even more, wrap twine or ribbon around the neck of the jar. This small detail adds a rustic and aesthetic finish that makes your DIY project stand out.
1. Choose the Type of Lamp You Want to Create
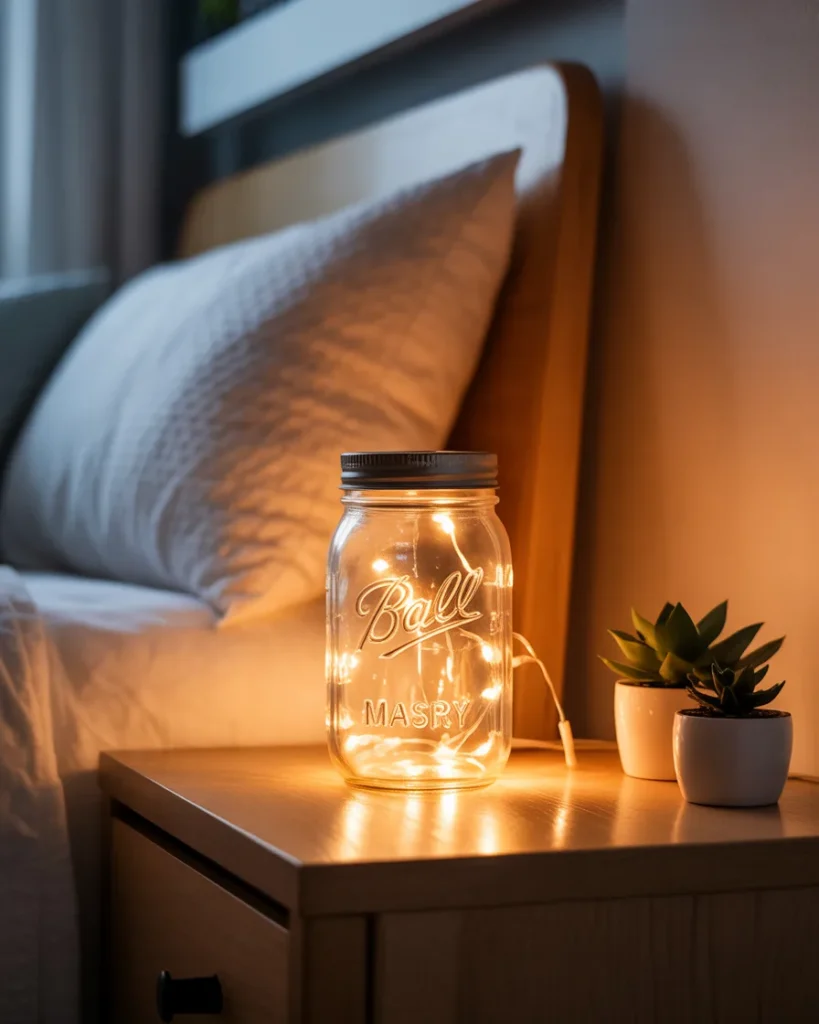
Start by deciding what kind of fairy light lamp you want to make. You can go for a mason jar lamp, a bottle lamp, or even a hanging lantern style. Each type gives a different vibe, so think about where you will place it. For example, a bedside lamp should feel soft and cozy, while a desk lamp can be more decorative. Also, consider the size and shape of the container. A clear vision at the start will make the whole process easier. This step sets the foundation for your entire DIY project.
2. Decide on a Theme or Style
Once you choose the lamp type, focus on the theme or style. You can go for a romantic, vintage, boho, or minimal look. A clear theme helps you pick the right decorations later. For example, dried flowers work great for a rustic theme, while glitter suits a magical vibe. Try to match the lamp style with your room decor. This keeps everything looking balanced and visually pleasing. A strong theme makes your lamp stand out beautifully.
3. Gather All Required Materials
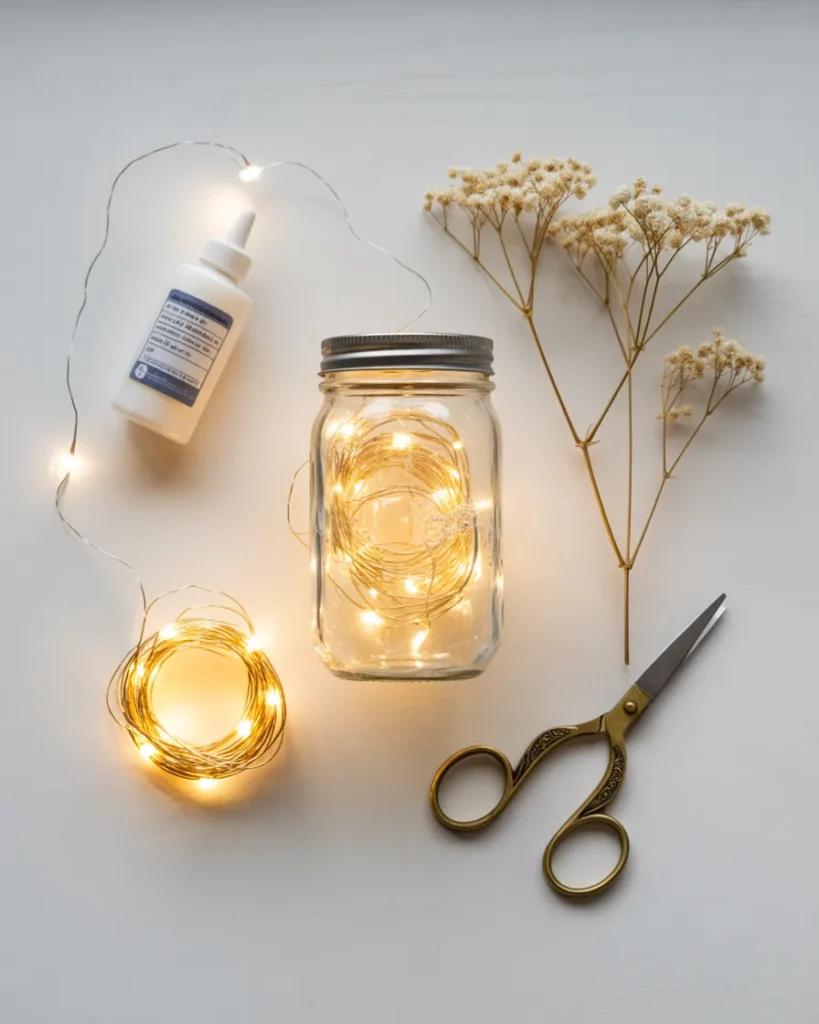
Before you start, collect all the materials you will need. This usually includes fairy lights, a container, decorations, glue, and scissors. Having everything ready saves time and avoids interruptions. It also helps you stay focused on the creative process. You can easily find these items at home or in local craft stores. Try to choose good-quality materials for better results. Preparation makes the whole DIY process smooth and enjoyable.
4. Pick High-Quality Fairy Lights
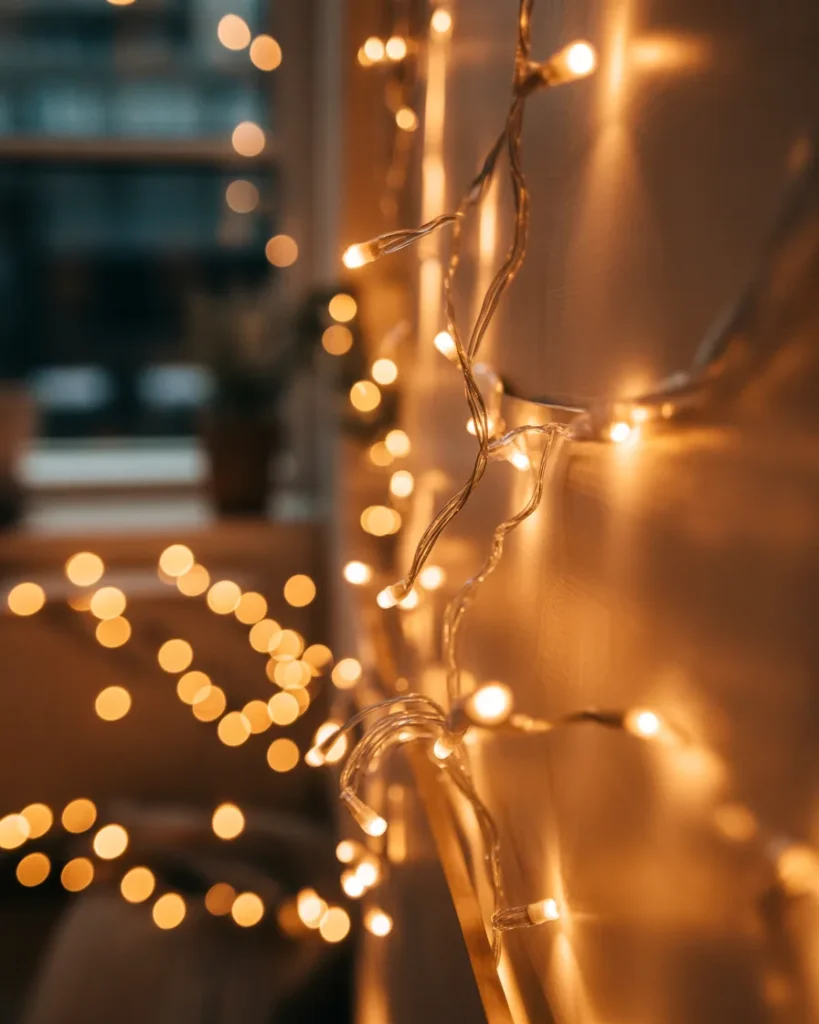
The quality of fairy lights matters more than you think. Always choose lights that are durable and give a warm glow. LED lights are the best option because they last longer and stay cool. You can also pick different colors based on your theme. Soft yellow lights create a cozy feel, while white lights look modern. Avoid cheap lights that flicker or stop working quickly. Good lights will make your lamp look more professional.
5. Select a Suitable Jar, Bottle, or Container
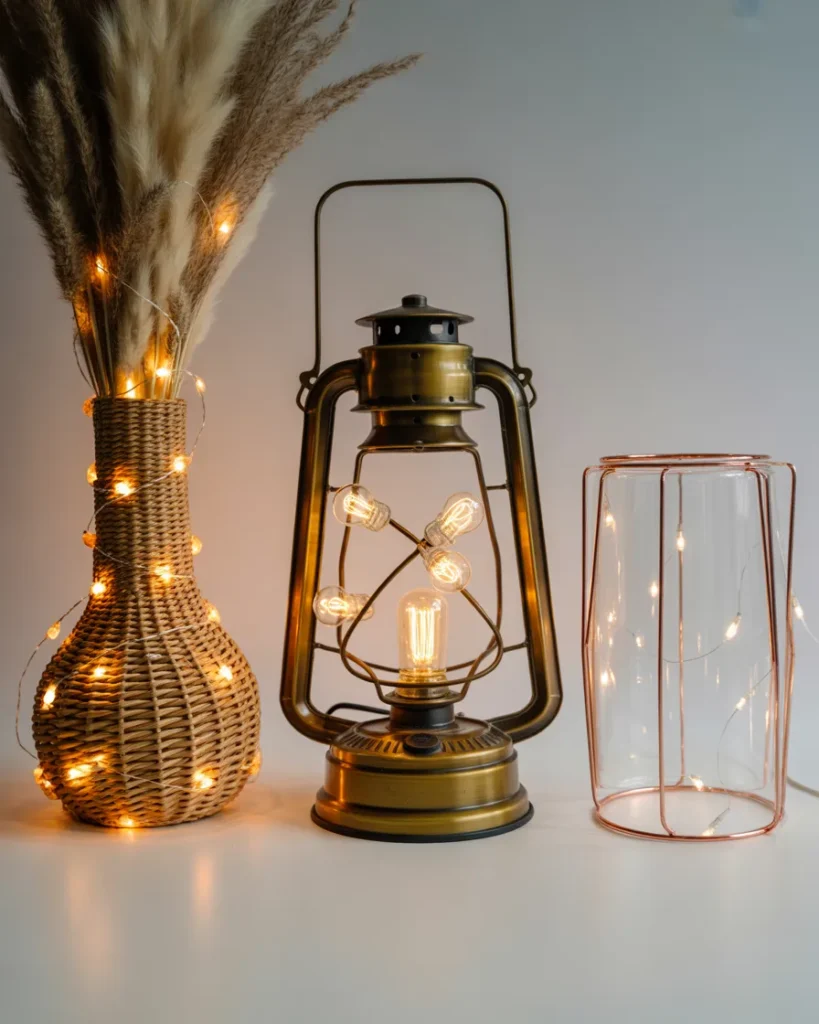
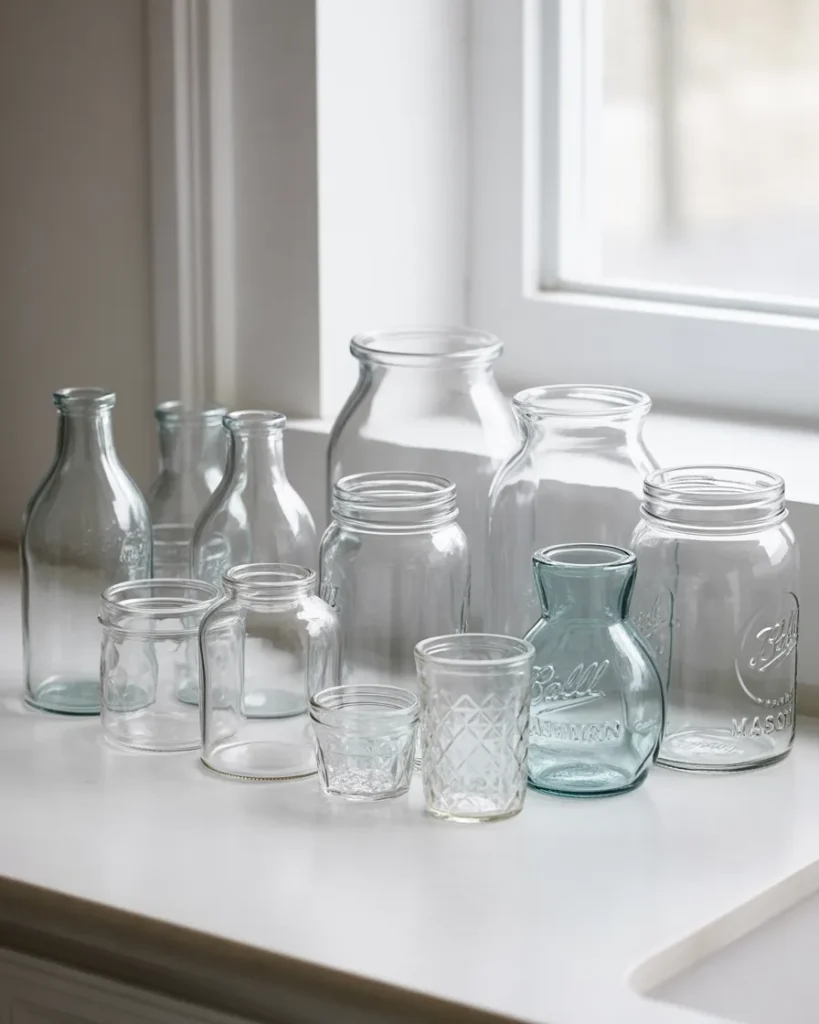
Now choose the perfect container for your lamp. Glass jars, old bottles, or even plastic containers can work well. Clear glass is the most popular choice because it shows the lights beautifully. Make sure the container is clean and free from cracks. The size should match your design idea. A larger jar gives more space for decoration. The right container enhances the overall look of your lamp.
6. Clean the Container Properly
Before starting the decoration, make sure your jar or bottle is completely clean. Wash it with soap and water to remove any dust, stickers, or oil marks. A clean surface helps the fairy lights shine more clearly inside the container. If there are sticky labels, soak them in warm water to remove them easily. After washing, wipe it with a soft cloth. This step is important because any dirt can reduce the final glow effect. A clean base always gives a more professional and aesthetic result.

7. Dry It Completely to Avoid Moisture
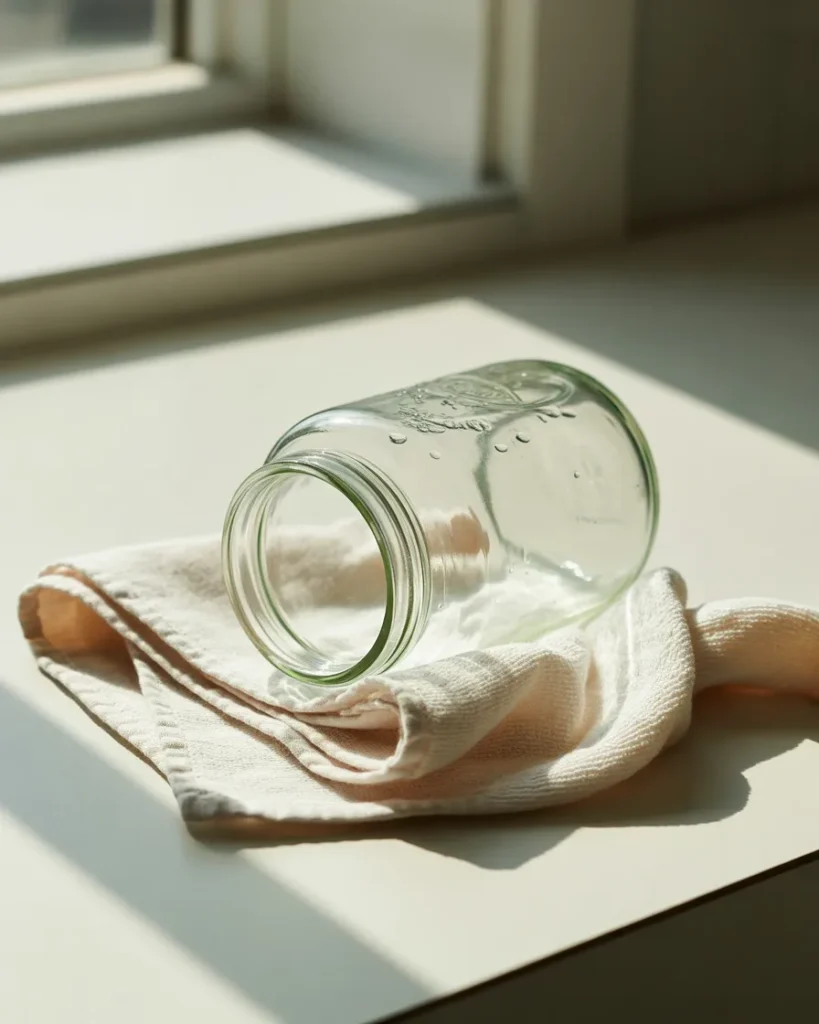
After cleaning, it is very important to let the container dry fully. Any moisture inside can damage the fairy lights or reduce their brightness. Place the jar upside down on a clean towel and let it air dry. You can also use a soft cloth to speed up the process. Make sure there is no water left inside before moving to the next step. A fully dry surface ensures safety and better durability of your lamp. This small step prevents future electrical or visual issues.
8. Check if Your Lights Are Working
Before placing the fairy lights inside the container, test them first. Turn them on to make sure all bulbs are glowing properly. This saves you from the frustration of fixing them later after assembly. If any section is not working, replace the batteries or use another set. Always use fresh batteries for better brightness. A quick test ensures your final lamp looks perfect and evenly lit. This step guarantees a smooth DIY experience without interruptions.
9. Choose Battery-Operated Lights for Safety
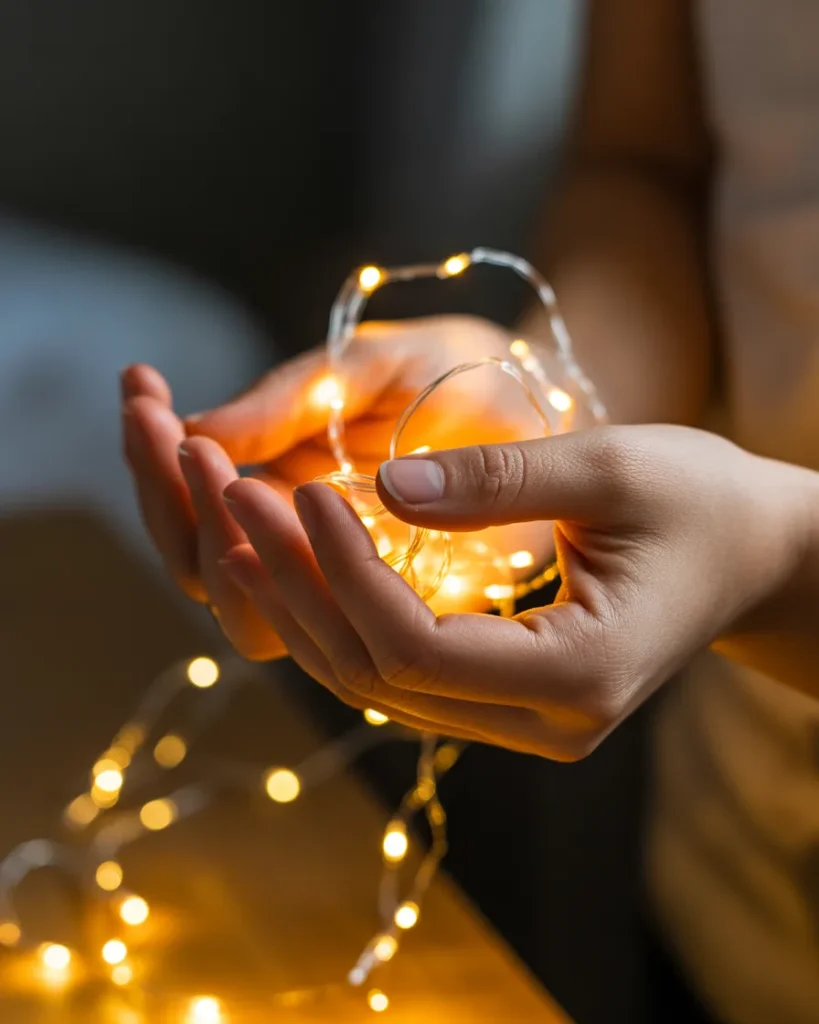
For DIY fairy light lamps, battery-operated lights are the safest option. They do not need direct electricity, so there is no risk of overheating or wiring issues. You can easily turn them on and off whenever you want. They are also portable, so you can place your lamp anywhere. USB lights can also be used, but batteries give more flexibility. Safety should always be a priority when working on decorative lighting. This makes your project both beautiful and risk-free.
10. Add Decorative Items Like Flowers or Stones
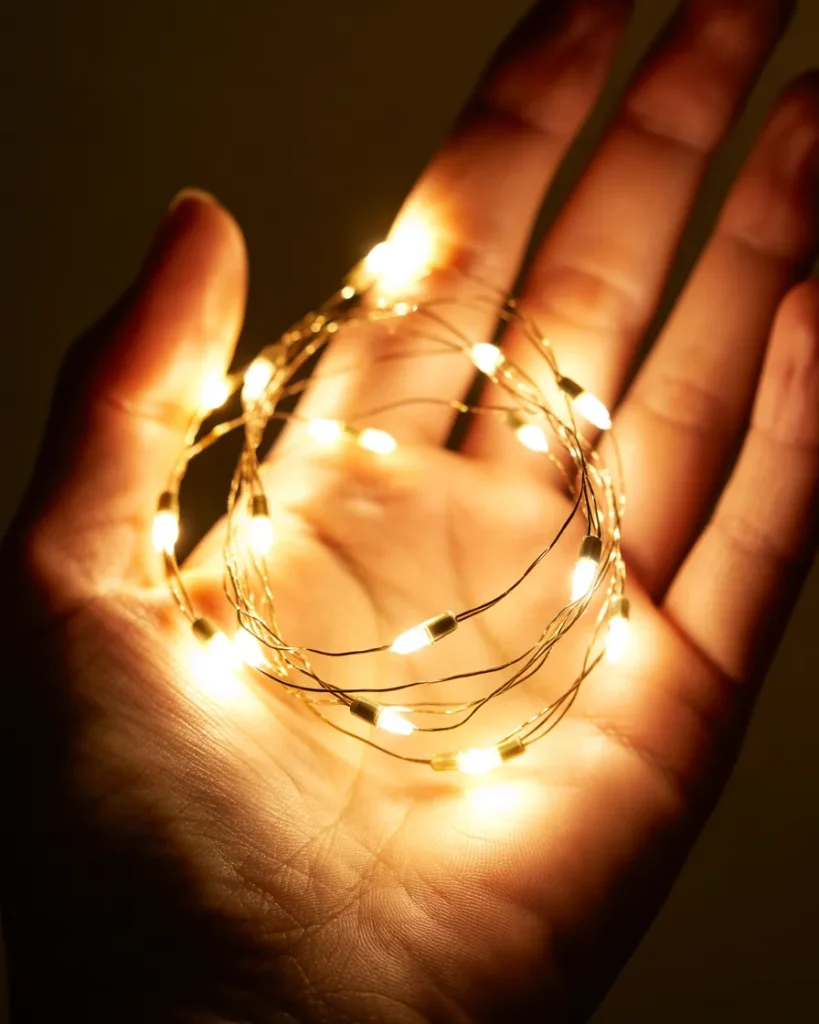
Now it’s time to make your lamp more creative by adding decorative elements. You can use dried flowers, small pebbles, glitter, or beads. These items enhance the visual beauty of your fairy light lamp. Try not to overload the container so the lights remain visible. Place decorations carefully around the lights for a balanced look. Natural elements like flowers give a soft and elegant vibe. This step adds personality to your DIY project.
Conclusion
Fairy light lamps prove that beautiful décor doesn’t have to be expensive or complicated. With just a few simple materials and a little creativity, you can transform an ordinary jar into a warm, glowing piece that instantly enhances any space.
What makes this DIY project truly special is its flexibility. You can customize your lamp to match your mood, the season, or your personal style—whether you prefer something minimal, rustic, or dreamy. Plus, it’s a fun and relaxing activity that allows you to express your creativity.
In the end, a fairy light lamp is more than just decoration. It adds comfort, personality, and a cozy atmosphere to your surroundings. So go ahead, experiment with different ideas, and create a piece that feels uniquely yours.