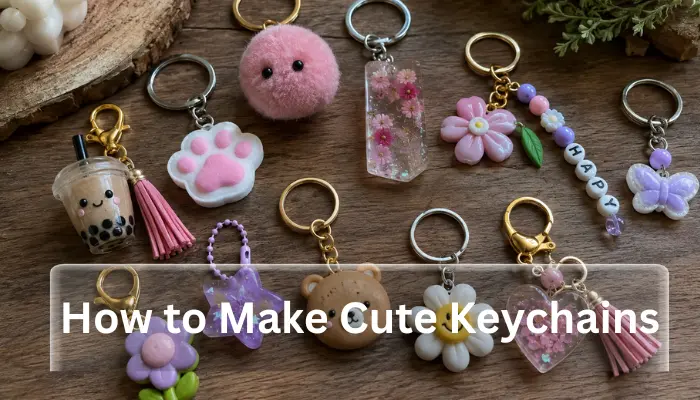
How to Make Cute Keychains From Beads and Resin
Cute keychains are one of the easiest and most enjoyable DIY crafts you can make at home. They are small, creative, affordable, and perfect for personal use or thoughtful handmade gifts. Many people also create cute keychains to decorate bags, backpacks, wallets, pencil cases, and even phone covers. The best part is that you do not need expensive tools or professional crafting experience to get started.
Learning how to make cute keychains allows you to turn simple materials into stylish accessories with your own personal touch. From clay charms and beaded designs to felt animals and resin creations, there are endless ways to create adorable keychains that match your style. In addition, making keychains can become a relaxing hobby and even a small business idea if you enjoy handmade crafts.
In this guide, you will learn everything about how to make cute keychains step by step. You will also discover the best materials, beginner-friendly techniques, creative design ideas, and useful tips to make your keychains look neat, colorful, and professional.
Why DIY Keychains Are So Popular
Handmade keychains have become very popular because they are fun, customizable, and easy to create. Unlike store-bought accessories, DIY keychains feel more personal and unique. You can choose your own colors, shapes, textures, and decorations to create something that truly reflects your personality.
Another reason people love keychains is that they are beginner-friendly crafts. Even if you have never tried crafting before, you can still make simple and beautiful designs with basic supplies. Furthermore, keychains are small projects, so they do not take too much time or space to complete.
Cute keychains are also excellent gifts. You can make personalized keychains for birthdays, holidays, friendship gifts, or school accessories. Since they are lightweight and practical, people enjoy using them every day.
Essential Materials for Making Cute Keychains
Before you start creating keychains, it is important to gather the right materials. The supplies you need may vary depending on the type of keychain you want to make, but some basic items are commonly used in most projects.
Basic Supplies
- Keychain rings
- Jump rings
- Glue or craft adhesive
- Scissors
- Small pliers
- Paint or markers
- Decorative charms
- Beads
- Ribbon or string
Optional Craft Materials
- Polymer clay
- Felt fabric
- Resin
- Acrylic paint
- Glitter
- Shrink plastic
- Tassels
- Silicone molds
Choosing good-quality materials helps your keychains last longer and look more polished. Beginners should start with simple supplies before trying advanced crafting techniques.
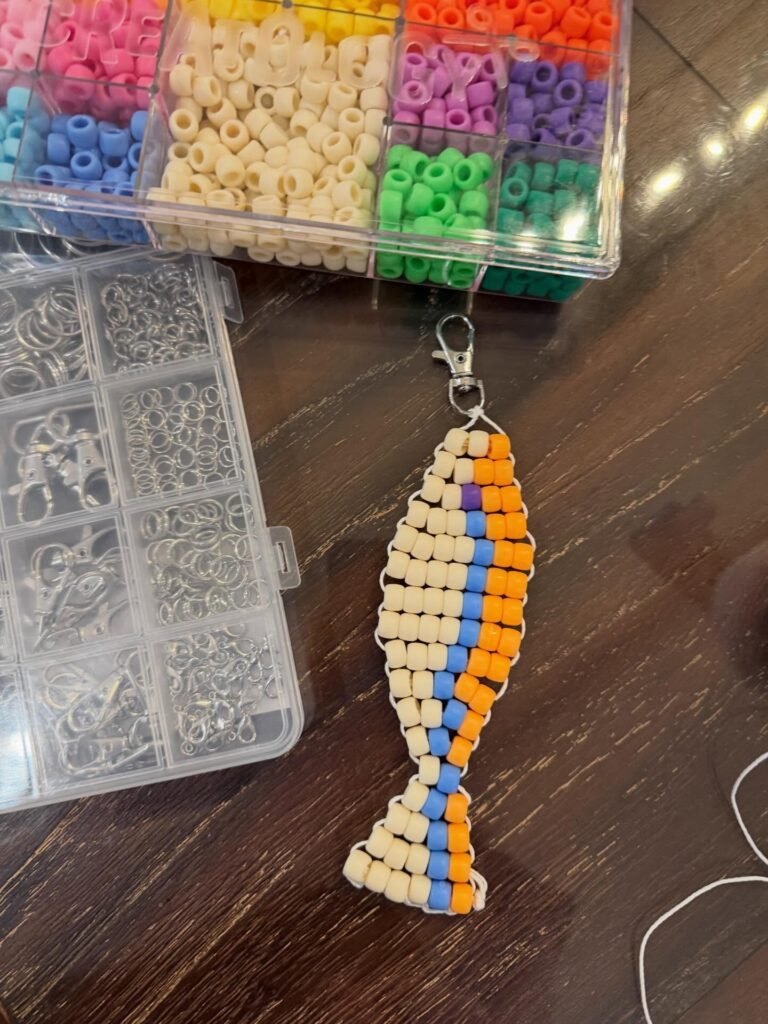
How to Make Cute Keychains with Beads
Beaded keychains are one of the easiest DIY options for beginners. They are colorful, lightweight, and highly customizable.
Step 1: Choose Your Beads
Select beads in different colors, shapes, or letter styles. Pastel beads, smiley faces, flowers, and heart beads are popular choices for cute designs.
Step 2: Cut the String
Use elastic cord, nylon thread, or strong jewelry wire. Cut enough length so you can comfortably add beads and tie the design securely.
Step 3: Arrange the Pattern
Before threading, place the beads on a table to plan your design. This helps you balance colors and shapes evenly.
Step 4: Thread the Beads
Slowly slide the beads onto the string. Make sure the arrangement stays in the correct order.
Step 5: Attach the Key Ring
Tie the ends securely around the key ring. Double-knot the string so the beads stay in place.
Step 6: Add Decorative Charms
You can attach mini charms, tassels, or ribbons for extra detail and personality.
Beaded keychains are simple, affordable, and perfect for kids, teens, and beginners who want quick crafting results.
How to Make Cute Clay Keychains
Polymer clay keychains are extremely popular because they allow you to create custom shapes and adorable miniature designs.
Step 1: Prepare the Clay
Soften the polymer clay by kneading it with your hands until it becomes flexible and smooth.
Step 2: Shape the Design
Create cute shapes such as:
- Hearts
- Stars
- Flowers
- Fruits
- Cartoon faces
- Animals
Use clay tools or toothpicks to add tiny details like eyes, smiles, or textures.
Step 3: Create a Hole
Use a straw or metal tool to make a small hole for the keychain ring before baking the clay.
Step 4: Bake the Clay
Place the clay on baking paper and bake it according to the instructions on the clay package. Avoid overheating because it may damage the design.
Step 5: Cool and Decorate
Allow the clay to cool completely. Then paint or seal the design if needed.
Step 6: Attach the Hardware
Add jump rings and keychain rings carefully using pliers.
Clay keychains are durable, cute, and highly customizable for different themes and aesthetics.
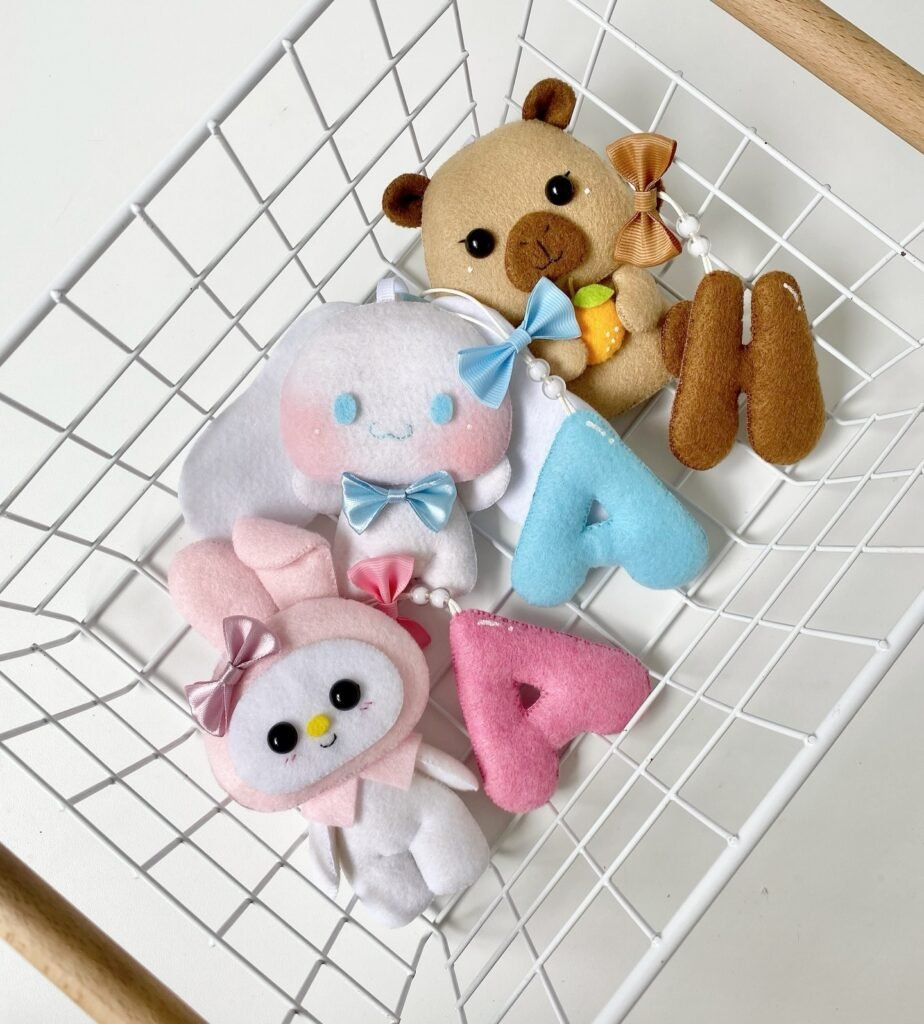
How to Make Cute Felt Keychains
Felt keychains are soft, lightweight, and perfect for handmade crafts with cozy textures.
Step 1: Draw the Shape
Sketch simple designs like clouds, stars, cats, flowers, or bears onto felt fabric.
Step 2: Cut the Felt
Carefully cut two identical pieces for the front and back of the keychain.
Step 3: Decorate the Front
Use embroidery, fabric paint, or beads to add facial expressions or decorative details.
Step 4: Stitch the Pieces Together
Sew the edges using colorful thread. Leave a small opening if you want to add stuffing.
Step 5: Add Filling
Use cotton stuffing lightly to make the keychain soft and puffy.
Step 6: Attach the Key Ring
Sew or glue a small fabric loop at the top and connect it to the key ring.
Felt keychains create a cute handmade appearance and work especially well for animal or cartoon-themed designs.
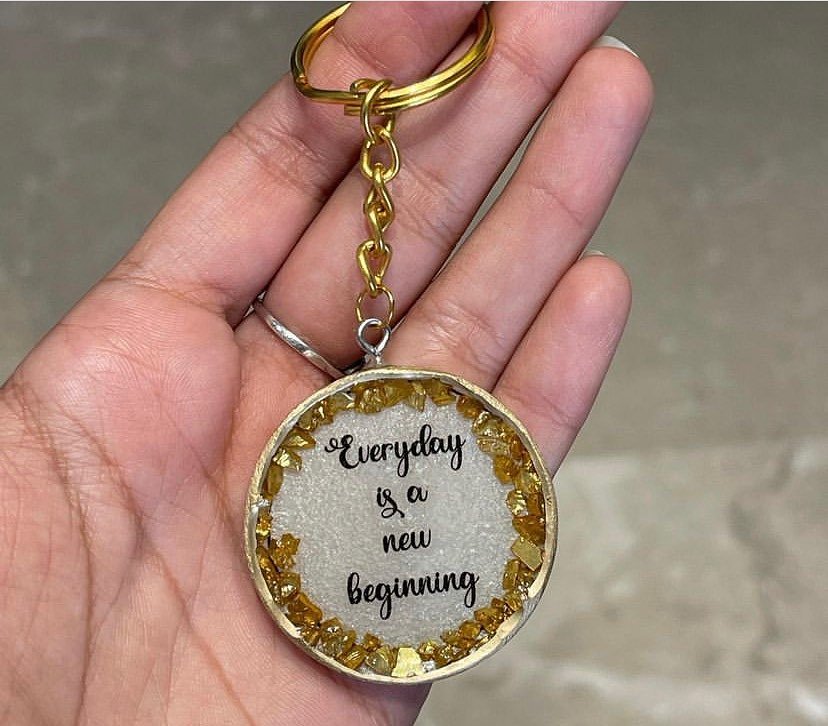
How to Make Cute Resin Keychains
Resin keychains look glossy, colorful, and professional. Although they require more patience, the results are stunning.
Step 1: Prepare the Mold
Choose silicone molds in shapes like hearts, stars, flowers, or letters.
Step 2: Mix the Resin
Carefully follow the resin instructions. Mix slowly to reduce air bubbles.
Step 3: Add Decorations
Place glitter, dried flowers, charms, or tiny stickers inside the mold.
Step 4: Pour the Resin
Pour the resin carefully into the mold without overflowing.
Step 5: Remove Air Bubbles
Use a toothpick or gentle heat to remove bubbles from the surface.
Step 6: Let It Cure
Allow the resin to harden completely. This may take several hours depending on the product.
Step 7: Attach Hardware
Once cured, remove the keychain from the mold and attach the key ring.
Resin keychains create a shiny and modern appearance that looks very stylish and professional.
Cute Keychain Design Ideas
If you are looking for inspiration, here are some adorable keychain themes you can try:
Animal Keychains
Cats, bears, rabbits, pandas, and frogs are very popular choices.
Food-Themed Keychains
Mini donuts, strawberries, ice cream, and cupcakes look fun and colorful.
Aesthetic Pastel Keychains
Soft pink, lavender, mint, and baby blue designs create trendy pastel styles.
Friendship Keychains
Matching heart pieces or initials make meaningful friendship gifts.
Cartoon Character Keychains
Cute cartoon-inspired faces always look playful and creative.
Floral Keychains
Flowers and leaves create elegant and feminine designs.
Tips for Making Professional-Looking Keychains
Even simple crafts can look polished when you pay attention to details. Here are some useful tips:
- Keep edges smooth and clean.
- Use strong glue for durability.
- Avoid overcrowding decorations.
- Choose matching color palettes.
- Use quality keychain hardware.
- Let paint or resin dry fully before handling.
- Test the strength of knots and rings.
Small finishing touches can make your DIY keychains look much more professional.
Common Mistakes to Avoid
Beginners sometimes rush the crafting process, which can affect the final result. Avoid these common mistakes:
- Using weak glue
- Overbaking clay
- Choosing poor-quality materials
- Making holes too small for rings
- Adding too many decorations
- Not allowing enough drying time
Taking your time improves both the appearance and durability of the keychains.
Can You Sell Handmade Keychains?
Yes, many people sell handmade keychains online or at local craft markets. Since keychains are affordable and easy to personalize, they are popular handmade products.
You can sell:
- Personalized name keychains
- Anime-inspired charms
- Cute clay designs
- Resin accessories
- Seasonal keychains
Good packaging, neat finishing, and creative designs help attract more buyers.
Best Places to Use Cute Keychains
Cute keychains are not only for keys. You can also use them as:
- Bag charms
- Backpack accessories
- Zipper pulls
- Phone decorations
- Pencil case charms
- Gift decorations
Their versatility makes them useful and fashionable at the same time.
Conclusion
Learning how to make cute keychains is a fun and creative way to express your personality through handmade crafts. Whether you choose beads, felt, clay, or resin, each style offers endless opportunities for creativity and customization. These DIY projects are beginner-friendly, affordable, and perfect for personal accessories or thoughtful gifts.
The key to making beautiful keychains is patience, creativity, and attention to detail. Start with simple designs, practice different techniques, and slowly experiment with more advanced styles. Over time, you will develop your own unique crafting style and create adorable keychains that look stylish, professional, and truly one of a kind.