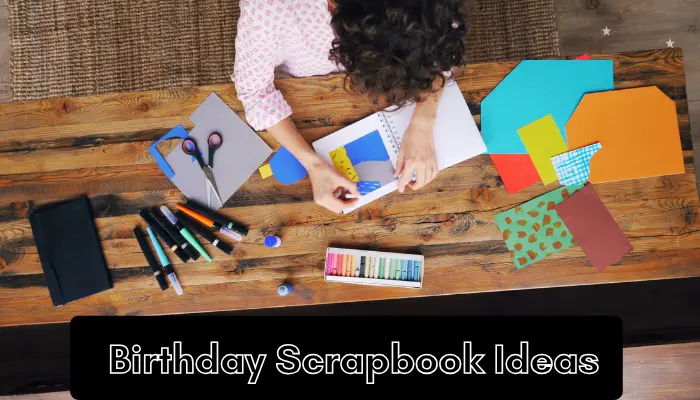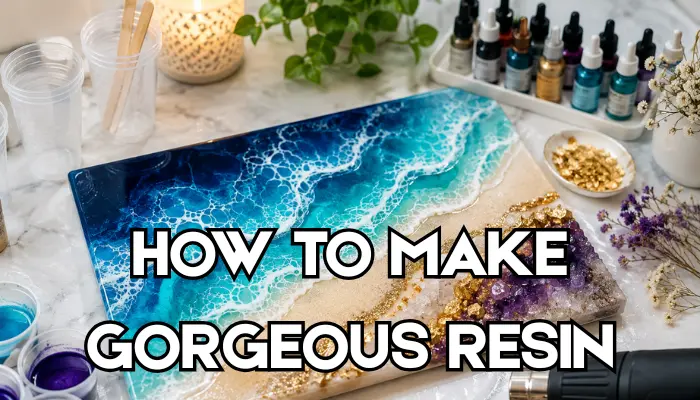
How to Make Gorgeous Resin Art: Step-by-Step
There’s something truly magical about resin art. A few drops of color, a glossy, crystal-clear finish, and a touch of creativity can transform ordinary materials into breathtaking works of art. Unlike many DIY projects, resin art offers endless possibilities because no two pieces ever turn out the same. Every swirl, blend, and pattern creates a unique masterpiece that reflects your personal style.
Whether you dream of making luxurious geode wall art, stunning ocean-inspired designs, elegant coasters, or handmade gifts that look professionally crafted, resin art gives you the freedom to create something extraordinary. While the beautiful finished pieces may seem complicated at first glance, the process becomes surprisingly enjoyable once you understand the basics. With the right materials, proper techniques, and a little patience, even complete beginners can achieve impressive results.
In this step-by-step guide, you’ll learn exactly how to make gorgeous resin art, avoid common mistakes, and create stunning projects that look expensive, professional, and completely one of a kind. Get ready to unlock your creativity and discover why resin art has become one of the most loved DIY crafts in the world.
Why Resin Art Is So Popular
One reason resin art has become so popular is its versatility. A single resin kit can be used to create countless projects in different colors and styles. In addition, the glossy finish makes even simple designs look luxurious and expensive.
Another benefit is that resin works well with many decorative materials. You can combine it with glitter, metallic flakes, dried flowers, crystals, shells, pigments, and inks to create truly unique artwork. Since every pour creates slightly different patterns, each piece becomes one of a kind.
Furthermore, resin art is suitable for both beginners and experienced artists. You do not need advanced drawing skills because much of the beauty comes from the natural movement of the resin itself.
READ MORE: Easy DIY Summer Crafts for Teens to Beat Boredom Creatively
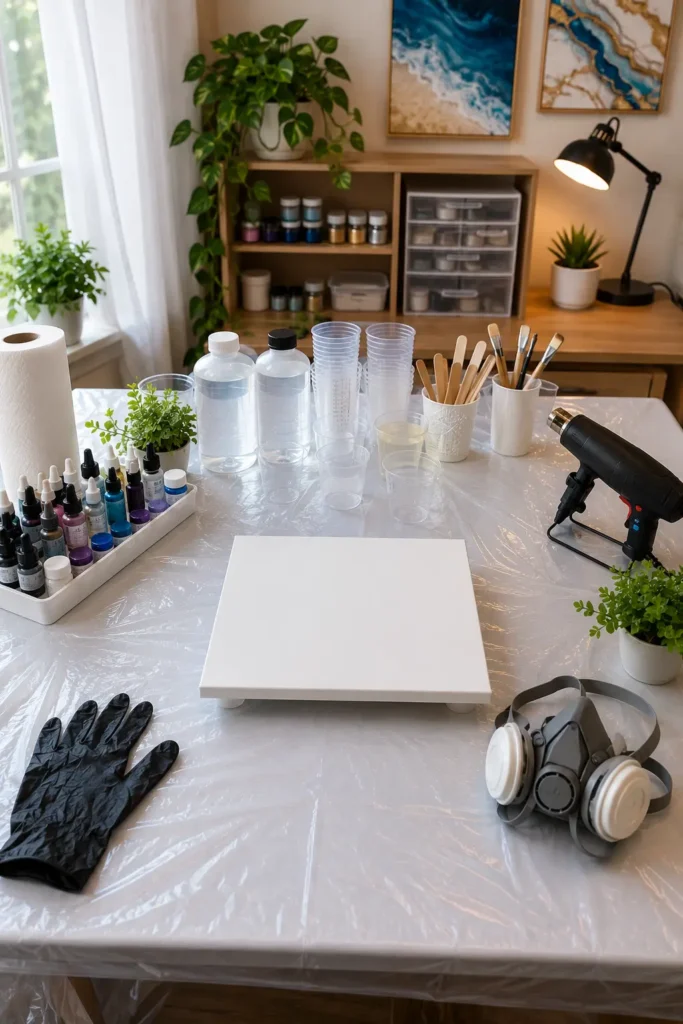
Materials Needed for Resin Art
Before you begin, gather all your materials. Having everything ready prevents mistakes and makes the process smoother.
Essential Supplies
- Epoxy resin
- Resin hardener
- Measuring cups
- Mixing sticks
- Silicone cups
- Disposable gloves
- Protective mask
- Plastic table covering
- Heat gun or torch
- Level work surface
- Resin pigments or dyes
Decorative Materials
- Glitter
- Gold leaf
- Silver flakes
- Mica powders
- Alcohol inks
- Dried flowers
- Crystals
- Seashells
- Beads
Using quality materials often leads to better results, especially when creating artwork that you plan to display or sell.
Step 1: Prepare Your Workspace Properly
The success of your resin project begins before you even mix the resin. A poorly prepared workspace can cause dust contamination, uneven surfaces, and unwanted imperfections.
Choose a clean, well-ventilated room where dust is minimal. Cover your table with plastic sheeting to protect it from spills. Next, use a level to ensure your work surface is completely flat. Resin naturally flows toward lower areas, so an uneven table can ruin your design.
Keep paper towels nearby for quick cleanup. Arrange all materials within easy reach because once the resin is mixed, you will have limited working time.
Taking ten minutes to organize your workspace can save hours of frustration later.
Step 2: Understand How Epoxy Resin Works
Before mixing anything, it is important to understand what resin actually does.
Epoxy resin consists of two parts:
- Resin
- Hardener
When these two components are mixed in the correct ratio, a chemical reaction begins. This reaction slowly transforms the liquid into a solid, durable, glossy surface.
Most resin products provide a specific mixing ratio. Some require a 1:1 ratio, while others may use different measurements. Always read the instructions carefully because incorrect measurements can prevent the resin from curing properly.
Understanding this process helps you avoid one of the most common beginner mistakes.
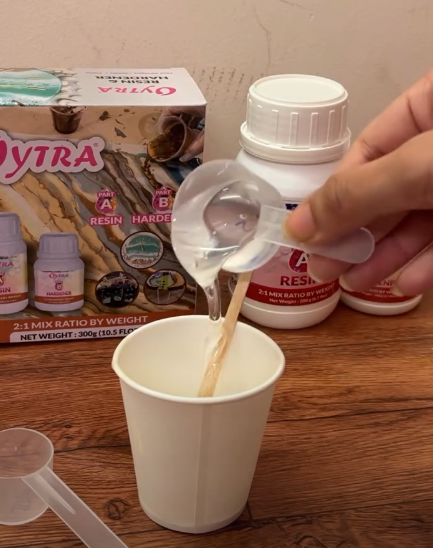
Step 3: Measure and Mix the Resin Correctly
Accurate measuring is one of the most important steps in resin art.
Pour the resin into a measuring cup first. Then add the correct amount of hardener according to the manufacturer’s instructions.
Begin stirring slowly and steadily. Scrape the sides and bottom of the cup continuously to ensure everything mixes evenly. Continue mixing for several minutes.
Avoid stirring too quickly because rapid mixing introduces air bubbles that can affect the final appearance.
The mixture should look smooth, clear, and consistent before moving to the next step.
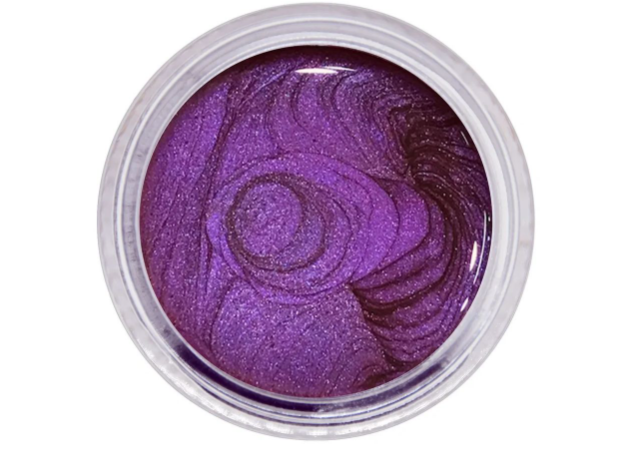
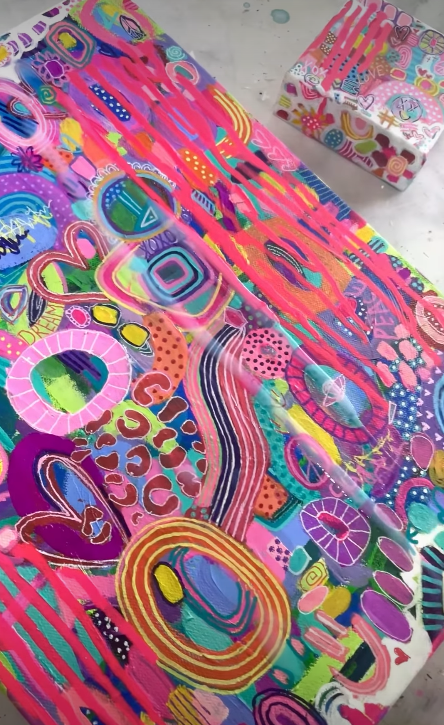
Step 4: Add Color to Create Beautiful Effects
This is where the creative process truly begins.
Divide your mixed resin into several cups if you want multiple colors. Add pigments, dyes, mica powders, or alcohol inks to each cup.
For beginners, it is often best to choose two or three complementary colors. Too many colors can become muddy and reduce the visual impact.
Popular color combinations include:
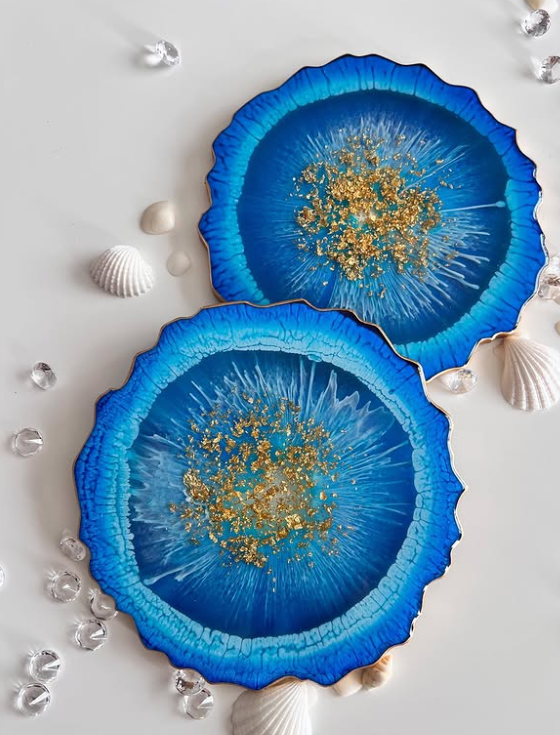
Ocean-Inspired Design
- Deep blue
- Turquoise
- White
These colors create the appearance of waves and beaches.
Luxury Geode Design
- White
- Gold
- Metallic silver
This combination creates a sophisticated gemstone effect.
Sunset Design
- Orange
- Pink
- Purple
These warm colors blend beautifully and create dramatic artwork.
Mix each color thoroughly until the pigment is fully distributed.
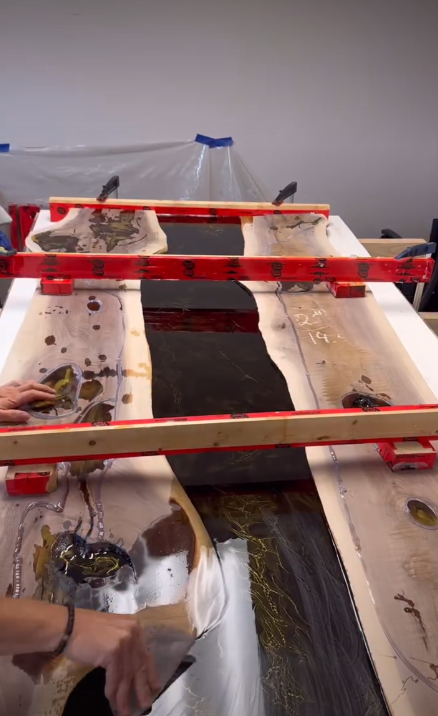
Step 5: Pour the Resin onto Your Surface
Once the colors are ready, begin pouring.
You can use:
- Wooden panels
- Canvas boards
- MDF boards
- Silicone molds
- Trays
- Coasters
Pour the resin slowly across the surface. Allow colors to flow naturally while leaving enough space for movement.
Rather than trying to control every detail, focus on creating balance between colors. Resin often creates beautiful patterns on its own as it spreads.
This stage is where your artwork begins to take shape.
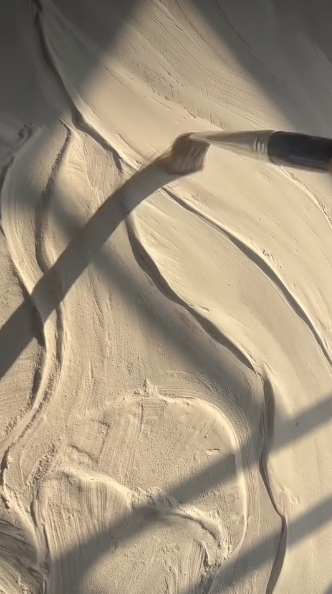
Step 6: Create Artistic Patterns and Designs
After pouring the resin, you can manipulate the colors using various techniques.
Swipe Technique
Use a plastic card or palette knife to gently drag resin across the surface. This creates dramatic feather-like patterns and layered effects.
Dirty Pour Technique
Place multiple colored resins into one cup and pour them together. The colors interact naturally, creating unique and unpredictable designs.
Ribbon Pour Technique
Pour colors in long flowing lines to create movement and elegance throughout the artwork.
Wave Technique
Use a heat gun to push white resin through blue layers, creating realistic ocean waves.
Experimenting with different techniques helps you discover your personal style and improve your artistic skills.
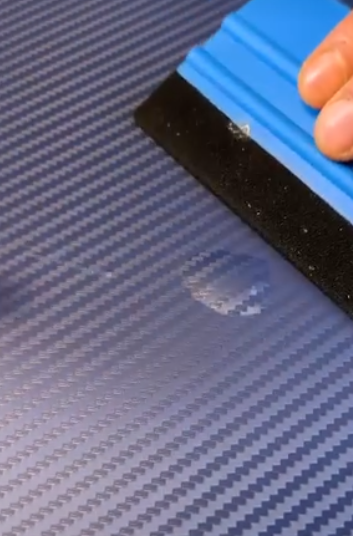
Step 7: Remove Air Bubbles for a Smooth Finish
Air bubbles are completely normal in resin art.
After pouring, examine the surface carefully. Small bubbles often rise to the top within the first few minutes.
Use a heat gun or torch to gently pass over the resin surface. The heat helps bubbles rise and burst.
Keep the heat source moving constantly. Holding it in one spot for too long may damage the design or overheat the resin.
Repeat this process several times during the first hour if necessary.
A bubble-free surface instantly makes your artwork look more professional.
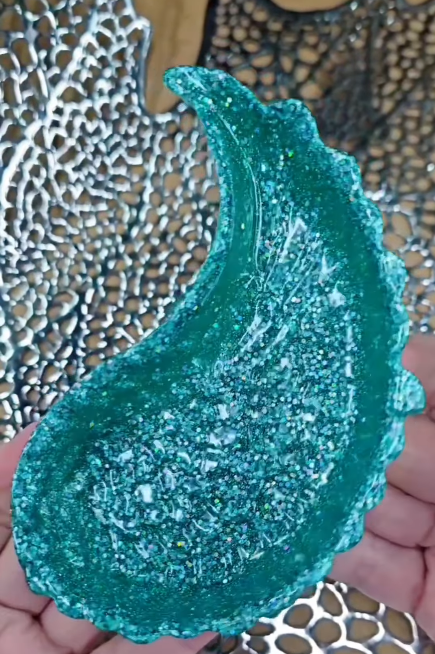
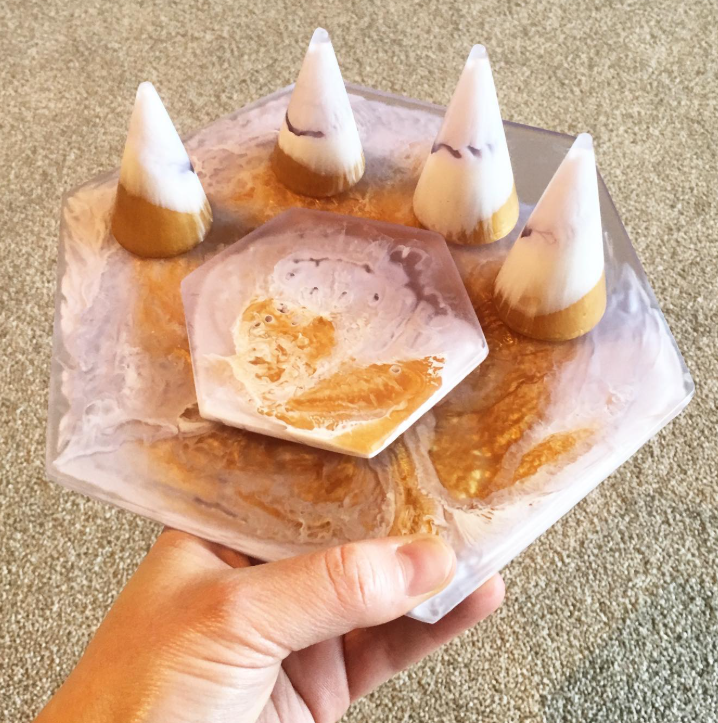
Step 8: Add Decorative Elements
This step allows you to make your artwork truly unique.
Before the resin begins curing, carefully place decorative items into the design.
Popular additions include:
Gold Leaf
Gold leaf creates luxury and sophistication.
Dried Flowers
Flowers add softness and natural beauty.
Crystals
Crystals create depth and a geode-inspired appearance.
Glitter
Fine glitter adds sparkle without overwhelming the design.
The goal is to enhance the artwork, not overcrowd it. Strategic placement often creates a more elegant result.
Step 9: Protect the Artwork While It Cures
Many beginners overlook this step, yet it is extremely important.
Dust, pet hair, and tiny particles can easily land on wet resin and ruin the smooth finish.
Place a clean box, container, or protective cover over your artwork. Ensure the cover does not touch the resin itself.
Most resin projects require:
- 24 hours for initial curing
- 48 to 72 hours for complete hardness
During this time, avoid moving the artwork.
Patience is essential because rushing the curing process can damage the finish.
Step 10: Sand, Polish, and Finish Your Artwork
After the resin has fully cured, inspect the piece carefully.
Check for:
- Sharp edges
- Uneven spots
- Small imperfections
Use fine-grit sandpaper to smooth rough areas. Wipe away dust thoroughly before applying any finishing coat.
Many artists add a final clear resin layer to increase shine and depth. This extra step can transform a good piece into an exceptional one.
Once completed, your artwork will have a glossy, durable finish that looks professionally made.
Common Mistakes Beginners Should Avoid
Using Incorrect Measurements
Even small measuring errors can prevent proper curing.
Working in a Dusty Room
Dust particles easily become trapped in wet resin.
Mixing Too Quickly
Fast mixing creates excessive air bubbles.
Using Too Many Colors
Too many colors can blend into a muddy appearance.
Touching the Resin Too Soon
Always allow adequate curing time before handling the artwork.
Avoiding these mistakes dramatically improves your results.
Gorgeous Resin Art Ideas to Try
Once you master the basics, consider creating:
- Ocean resin wall art
- Geode-inspired artwork
- Resin serving trays
- Decorative coasters
- Resin bookmarks
- Resin jewelry
- Floral resin frames
- Abstract wall panels
- Resin clocks
- Personalized gifts
Each project helps you develop new skills while expanding your creativity.
Final Thoughts
Creating resin art is much more than mixing colors and pouring liquid onto a surface; it’s an opportunity to turn imagination into something beautiful and lasting. Every project allows you to experiment with new color combinations, unique textures, and creative techniques that make your artwork truly special. As your confidence grows, you’ll discover that resin art is not about achieving perfection; it’s about embracing creativity and enjoying the artistic journey.
The most stunning resin pieces are often created by artists who are willing to experiment, learn from each project, and trust the process. Whether you’re designing elegant home décor, personalized gifts, or statement art pieces for your walls, the skills you develop with resin can open the door to countless creative possibilities. Start with simple projects, practice consistently, and don’t be afraid to try new ideas. Before long, you’ll be creating gorgeous resin artwork that not only captures attention but also showcases your unique artistic vision. The beauty of resin art lies in the fact that every pour tells a different story—and your next masterpiece could be just one pour away.