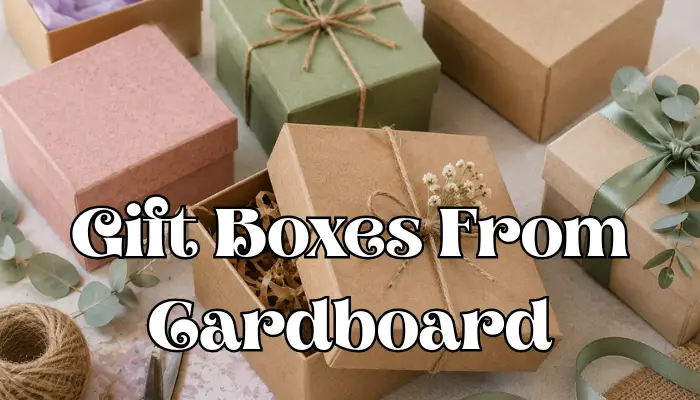
How to Make Custom Gift Boxes From Cardboard: DIY Guide
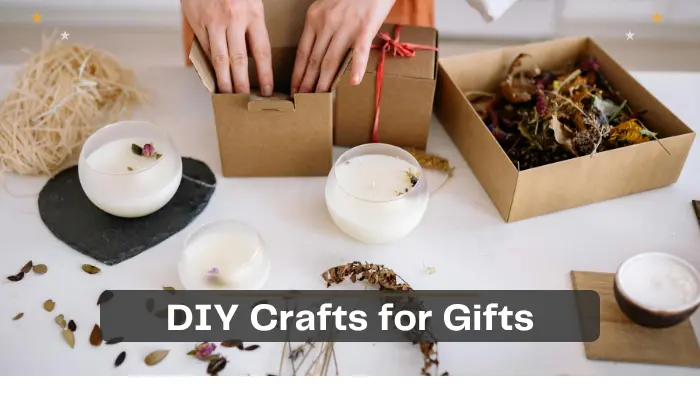
Find out how to make custom gift boxes from cardboard is a smart way to create beautiful, personal, and budget-friendly packaging at home. A handmade gift box does more than hold a present. It adds care, style, and meaning before the gift is even opened. Whether you are preparing a birthday gift, wedding favor, holiday surprise, handmade product, or small business order, a custom cardboard box can make the whole presentation look special.
Cardboard is one of the easiest materials to use because it is strong, affordable, and simple to decorate. You can cut it into almost any size, fold it into different shapes, and cover it with paper, paint, fabric, ribbons, or stickers. Because of this, cardboard gift boxes work well for jewelry, candles, chocolates, skincare items, stationery, small toys, crafts, and many other gifts.
This complete guide will explain everything clearly, from choosing the right cardboard to decorating the final box. By the end, you will know how to make a strong, neat, and attractive gift box that looks thoughtful and handmade in the best way.
Why Make Custom Gift Boxes From Cardboard?
Making your own gift boxes gives you full control over the size, shape, color, and style. Store-bought boxes may not always fit your gift properly, and sometimes they look too plain or too expensive. However, a handmade cardboard gift box can be adjusted exactly to your needs.
Custom boxes are also great for people who sell handmade products. A neat box can improve product presentation and make a brand look more professional. For personal gifts, it shows extra effort and care. Instead of using basic wrapping paper, you can create packaging that matches the person, event, or theme.
Another benefit is sustainability. Reusing clean cardboard from packaging can reduce waste and give old material a new purpose. When made carefully, recycled cardboard boxes can look stylish, clean, and creative.
Best Cardboard to Use for Gift Boxes
The type of cardboard you choose affects the strength and appearance of the box. Thin cardboard works well for light items such as letters, small accessories, paper crafts, or flat gifts. Medium-weight cardboard is better for candles, mugs, chocolates, and beauty products. Heavy cardboard should be used for items that need more protection.
Avoid cardboard that is wet, bent, greasy, or damaged. Weak cardboard can make the box look messy and may not hold the gift safely. For a smooth finish, choose cardboard with a clean surface. If the outside has printed labels, you can cover it with decorative paper or fabric later.
Materials You Will Need
To make a custom cardboard gift box, you need a few simple supplies. Prepare sturdy cardboard, a ruler, pencil, scissors, craft knife, cutting mat, glue, and decorative materials. You may also need wrapping paper, colored paper, ribbon, stickers, paint, tissue paper, and small embellishments.
A ruler helps keep your lines straight, while a craft knife gives cleaner cuts than scissors. A cutting mat protects your table and makes the cutting process safer. Strong glue is important because weak adhesive can cause the box to open or lose shape.
Step 1: Choose the Gift and Decide the Box Size
Start by choosing the item you want to place inside the box. This step is important because the size of the gift will decide the size of the box. Measure the length, width, and height of the item carefully. Then, add a little extra space so the gift can fit comfortably.
Do not make the box too tight because it may damage the item or make the lid hard to close. Also, avoid making it too large because the gift may move around inside. A well-sized box looks neat, protects the gift, and gives a better presentation.
Step 2: Select the Right Cardboard
After measuring the gift, choose cardboard that matches the weight of the item. For light gifts, regular craft cardboard is enough. For heavier gifts, use thicker cardboard so the box stays firm and strong.
The cardboard should be flat, dry, and clean. If you are reusing cardboard, remove tape, labels, and rough edges before starting. A smooth piece of cardboard makes cutting, folding, and decorating much easier.
Step 3: Create a Simple Box Template
A box template is the flat pattern that becomes the box after cutting and folding. Draw the base first, then add four side panels around it. Add small flaps to the side panels because these will help you glue the box together.
Keep your template simple, especially if you are a beginner. A square or rectangular box is the easiest design to start with. Make sure all sides are measured correctly so the box folds evenly. A good template saves time and prevents mistakes.
READ MORE: Creative Art Diary Ideas to Fill Your Pages With Inspiration
Step 4: Mark the Template on Cardboard
Place your template on the cardboard and trace it with a pencil. Use a ruler for straight lines and sharp corners. Mark the cutting lines clearly, but avoid pressing too hard because dark pencil marks may show after decoration.
Before cutting, check the measurements again. This step helps you avoid wasting cardboard. Even a small measurement mistake can make the box uneven, so careful marking is very important.
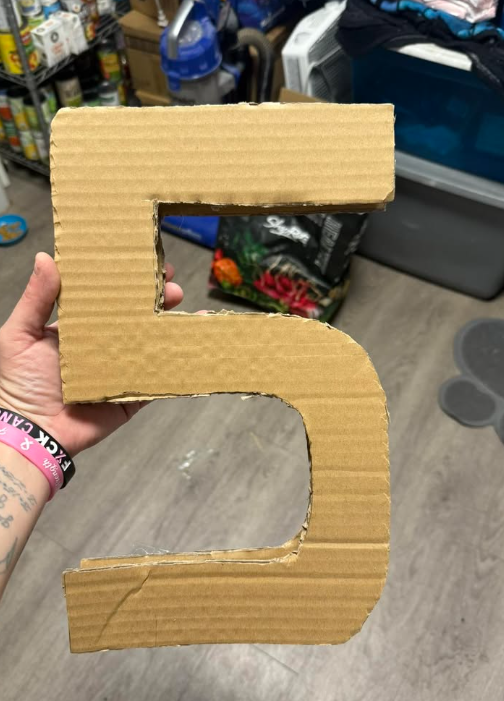
Step 5: Cut the Cardboard Carefully
Cut along the marked lines using scissors or a craft knife. For thick cardboard, a craft knife usually gives better results. Always cut slowly and keep your hand away from the blade. If you use a craft knife, place a cutting mat under the cardboard.
Clean cuts make the box look professional. Uneven edges can affect the final shape, so take your time. If any edge looks rough, trim it gently before folding.
Step 6: Score the Fold Lines
Scoring means making a light crease where the cardboard will fold. Use the back of a craft knife, an empty pen, or a scoring tool. Place the ruler along the fold line and press gently.
Do not cut through the cardboard. The goal is only to make folding easier. Scored lines help create sharp, clean edges and prevent the cardboard from cracking. This step is small, but it makes a big difference in the final look.
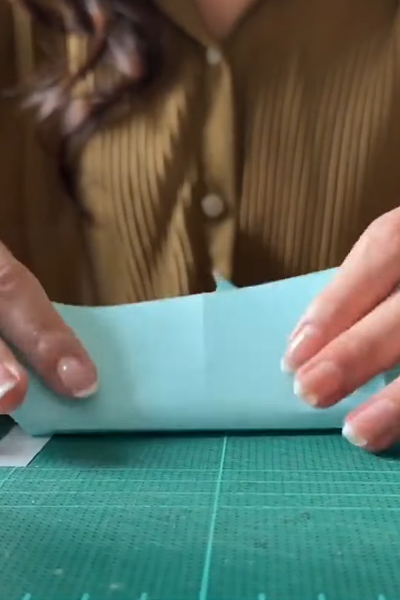
Step 7: Fold the Box Into Shape
Fold the cardboard along the scored lines. Press each fold firmly so the sides stand neatly. At this stage, the box shape will begin to appear. Before adding glue, check that all corners meet correctly.
If something does not line up, adjust the folds gently. It is easier to fix the shape before gluing than after the glue dries. Neat folds help the box sit flat and close properly.
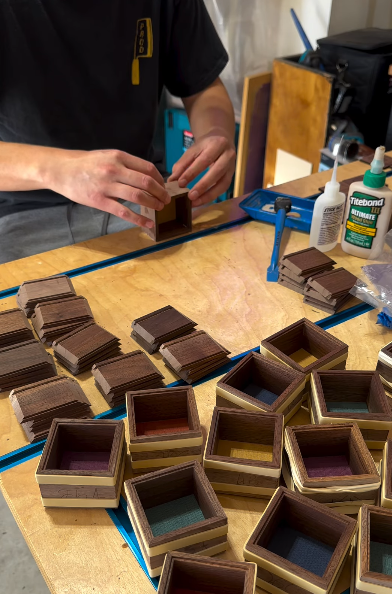
Step 8: Glue the Box Panels Together
Apply glue to the small flaps and press the side panels together. Hold each corner for a few seconds so the glue can bond. Use only a small amount of glue because too much can make the cardboard soft or messy.
Make sure the corners stay square while drying. You can use paper clips or small clips to hold the edges in place. Let the box dry fully before decorating or placing the gift inside.
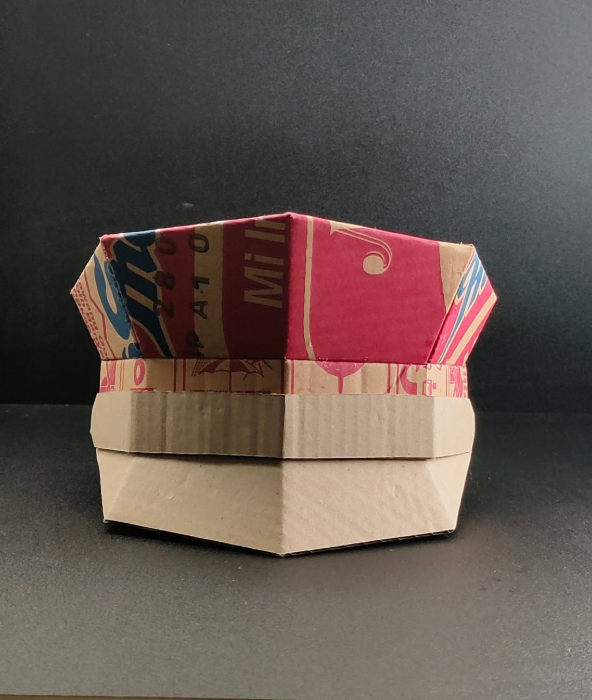
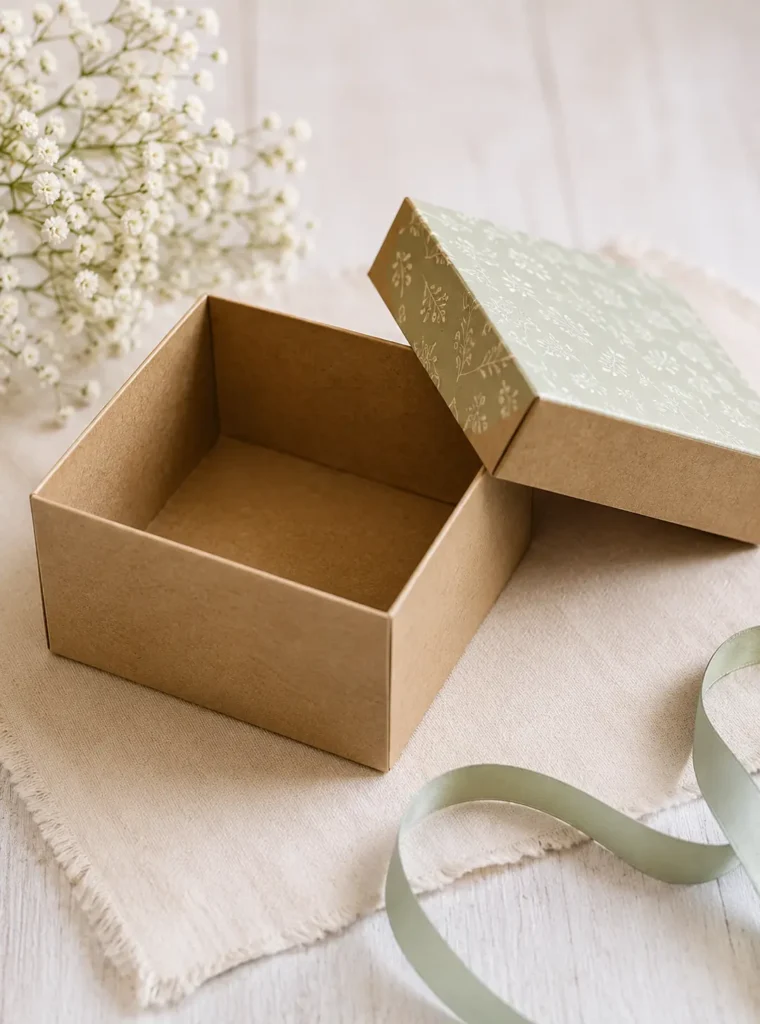
Step 9: Make a Matching Lid
A gift box looks more complete with a matching lid. To make the lid, use the same method as the base, but make it slightly larger so it can slide over the box easily. Add a small amount of extra width and length to the lid template.
The lid should fit smoothly without being too loose. If it is too tight, it may bend the box. If it is too loose, it may fall off. A good lid gives the box a clean and finished appearance.
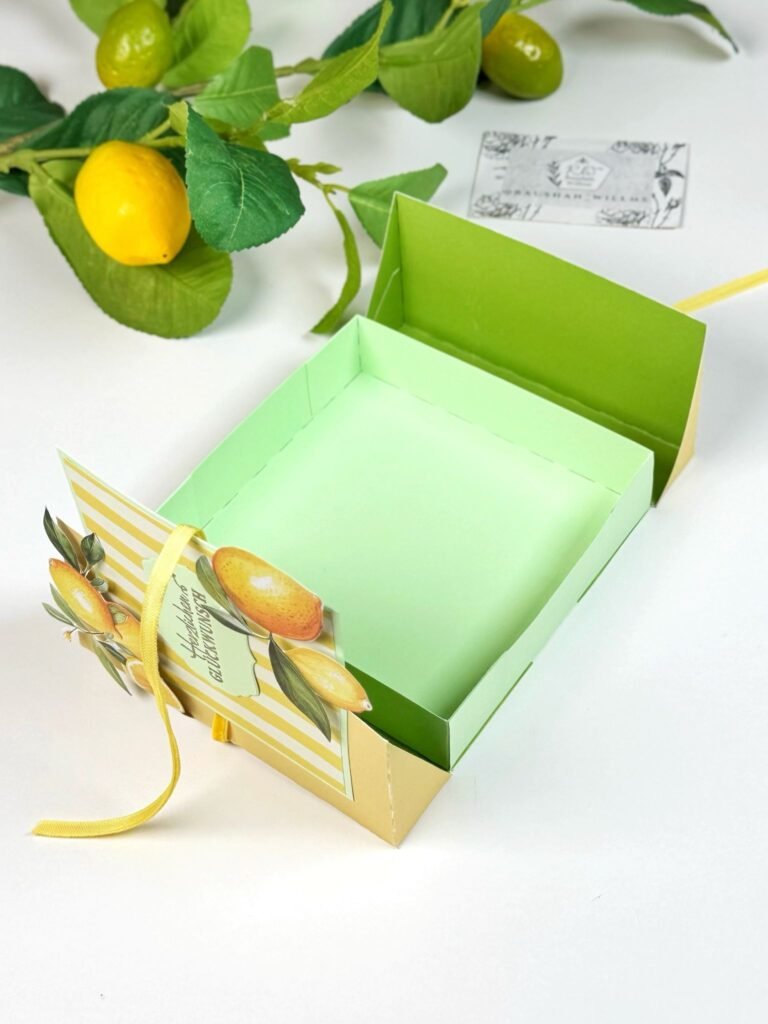
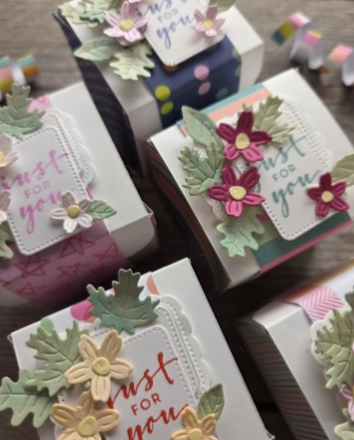
Step 10: Decorate and Finish the Gift Box
Now decorate the box according to the occasion. Cover it with wrapping paper, kraft paper, colored paper, fabric, or paint. Add ribbon, lace, dried flowers, stickers, bows, or a handmade tag for extra charm.
You can also decorate the inside with tissue paper or shredded paper filler. This makes the gift look more elegant and helps protect the item. Finally, place the gift inside and close the box carefully. Your custom cardboard gift box is ready.
Creative Decoration Ideas for Cardboard Gift Boxes
There are many ways to decorate cardboard gift boxes beautifully. For a simple and natural look, use brown kraft paper, twine, and dried flowers. For birthdays, choose bright colors, fun stickers, and ribbon. For weddings, use soft colors, lace, pearls, or satin bows.
For luxury-style packaging, cover the box with matte black, white, gold, or pastel paper. Add a neat ribbon and a small gift tag. For kids’ gifts, use colorful paper, cartoon-style stickers, or playful shapes. The decoration should match the gift and the person receiving it.
Tips to Make Your Gift Box Look Professional
Always measure twice before cutting. Use clean cardboard and sharp tools for neat edges. Score every fold line before bending the cardboard. Let glue dry fully before decorating. Choose decorations that match the size of the box.
Avoid adding too many items on the outside because it can make the box look crowded. Simple designs often look more elegant. A clean ribbon, smooth paper, and neat corners can make a handmade box look expensive and stylish.
Common Mistakes to Avoid
One common mistake is using cardboard that is too thin for the gift. This can make the box weak and unstable. Another mistake is skipping the scoring step, which can cause rough folds and cracked edges.
Many beginners also use too much glue. Extra glue can create stains, bumps, and soft spots. Cutting without checking measurements can also ruin the shape of the box. To avoid these problems, work slowly and check each step before moving forward.
Safety Tips While Cutting Cardboard
When cutting cardboard, always use tools carefully. Keep your fingers away from the blade and cut on a stable surface. If you use a craft knife, place a cutting mat under the cardboard. Do not rush the cutting process.
Children should only make cardboard gift boxes with adult supervision, especially when scissors or craft knives are involved. Safety matters because sharp tools can cause injuries if handled carelessly.
Best Uses for Custom Cardboard Gift Boxes
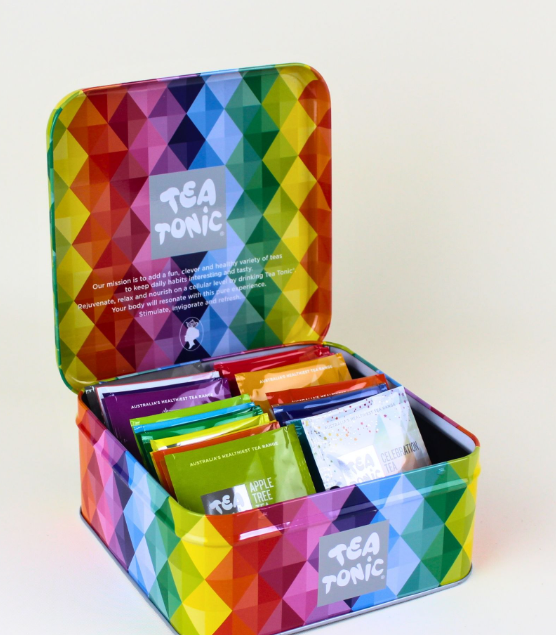
Custom cardboard gift boxes are perfect for birthdays, weddings, anniversaries, baby showers, holidays, and party favors. They also work well for handmade products such as candles, soaps, jewelry, baked goods, small crafts, and skincare items.
Small businesses can use custom cardboard boxes to create better packaging without spending too much money. Personal gift-givers can use them to make presents feel more thoughtful and unique. A handmade box adds beauty, care, and personality to any gift.
Conclusion
Learning how to make custom gift boxes from cardboard is a useful DIY skill that helps you create beautiful packaging at home. With the right cardboard, accurate measurements, careful cutting, neat folding, and creative decoration, you can turn simple material into a lovely gift box.
This project is affordable, creative, and practical for many occasions. Whether you want a simple handmade box or a stylish custom design, cardboard gives you endless options. Once you understand the basic method, you can make boxes in different sizes, colors, and styles for every gift.